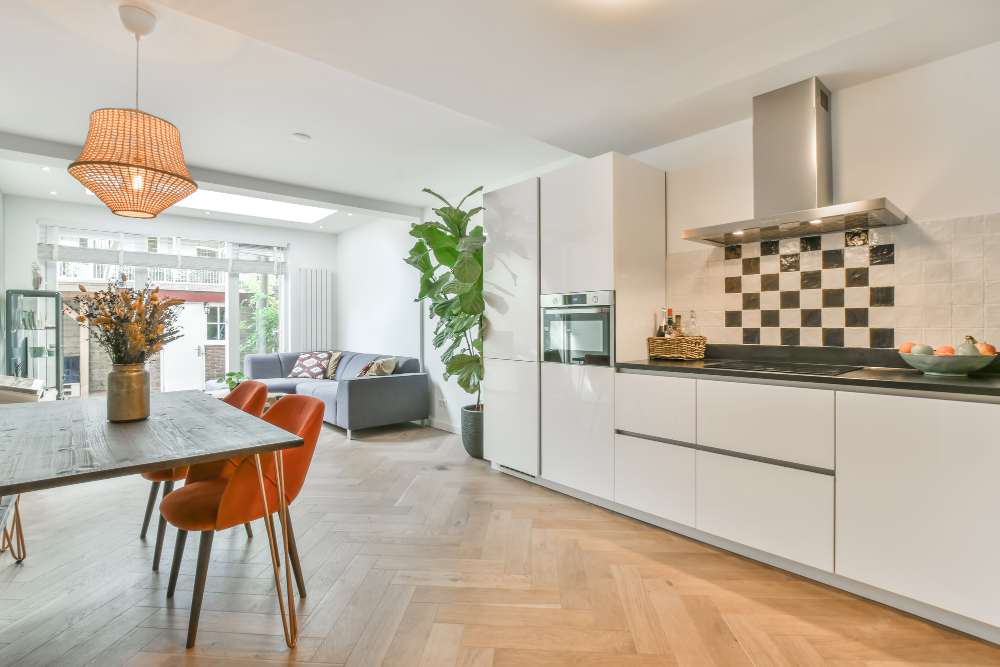
Homeowners increasingly choose tile flooring because it combines exceptional durability, moisture resistance, modern aesthetics, and long-term residential functionality. Flooring strongly influences the comfort, appearance, and practicality of interior spaces, and tile flooring continues to remain one of the most reliable options for kitchens, bathrooms, entryways, and whole-home remodeling projects. Its ability to withstand heavy traffic while maintaining a clean and sophisticated appearance makes tile flooring highly desirable in modern residential design.
Modern tile flooring systems are available in a wide variety of materials, colors, textures, and formats that support both contemporary and traditional architectural styles. Whether using porcelain tile, natural stone surfaces, or ceramic flooring systems, tile flooring helps homeowners create durable, visually refined, and easy-to-maintain living environments.
Why Tile Flooring Continues to Grow in Popularity
Modern homeowners increasingly prioritize flooring systems that combine long-term durability with luxury design versatility.
Common reasons homeowners choose tile flooring include:
- Exceptional moisture resistance
- Long-lasting durability
- Easy maintenance routines
- Wide design flexibility
- Modern interior aesthetics
- Increased property resale value
These flooring systems help create homes that feel clean, elegant, and professionally designed.
Key Benefits of Stone Tile Flooring
Excellent Moisture Resistance
Tile flooring remains highly popular in kitchens, bathrooms, and entryways because of its ability to resist moisture and spills.
Moisture-resistant flooring benefits include:
- Improved water protection
- Reduced moisture damage risks
- Reliable high-humidity performance
- Long-term flooring durability
These features support cleaner and more durable residential interiors.
Long-Term Surface Durability
Tile flooring systems are engineered to withstand heavy daily use while maintaining their appearance and structural performance over time.
Durable tile surfaces help resist:
- Surface wear and scratches
- Heavy foot traffic damage
- Staining and discoloration
- General residential impact wear
These surfaces help maintain long-lasting functionality and visual quality.
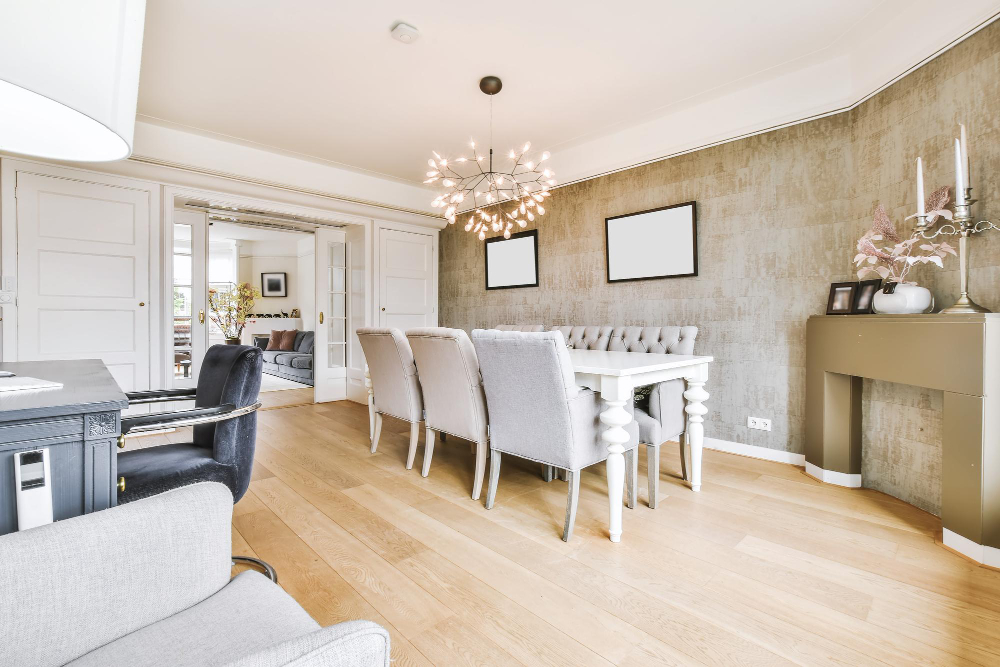
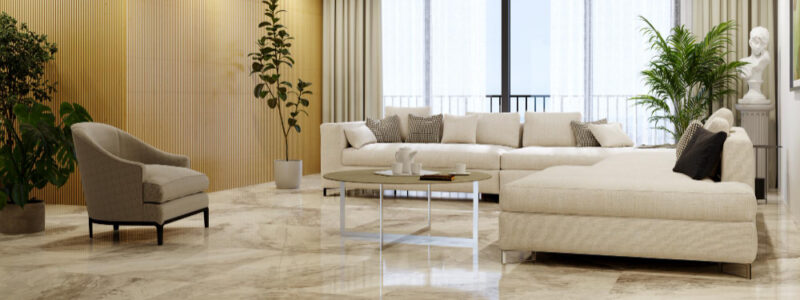
Wide Design Versatility
Modern tile flooring is available in countless styles that complement a broad range of interior design aesthetics.
Popular tile flooring styles include:
- Natural stone-inspired textures
- Wood-look porcelain flooring
- Large-format tile surfaces
- Contemporary matte finishes
These flooring systems help create elegant and visually sophisticated interiors.
How Porcelain Floor Tiles Improve Daily Living
Professionally installed stone tile flooring significantly improve residential comfort, maintenance efficiency, and long-term interior usability.
Cleaner and Easier-to-Maintain Interiors
Tile flooring continues to remain highly desirable because it simplifies cleaning routines and supports cleaner indoor environments.
Easy-maintenance flooring benefits include:
- Simple sweeping and cleaning
- Improved stain resistance
- Reduced maintenance requirements
- Enhanced overall surface hygiene
These flooring systems support healthier and more manageable residential living spaces.
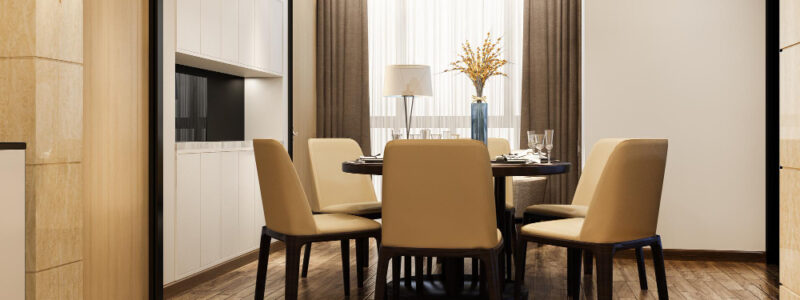
Enhanced Interior Design Continuity
Flooring serves as a unifying architectural element that visually connects rooms throughout the home.
Tile flooring helps create:
- Balanced interior aesthetics
- Luxury architectural styling
- Open-concept visual flow
- Modern room continuity
These improvements help homes feel larger and more visually cohesive.
Improved Long-Term Residential Durability
Tile flooring systems are especially valuable in high-traffic areas where durable surfaces are essential for long-term performance.
Durable flooring systems help homeowners:
- Reduce long-term floor wear
- Maintain consistent surface quality
- Improve household functionality
- Support active family lifestyles
These benefits contribute to more reliable and long-lasting interior environments.
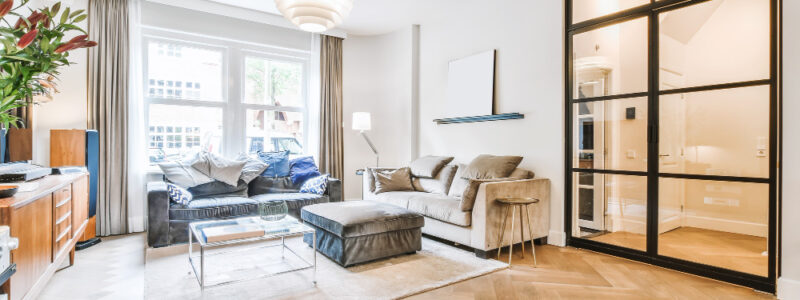
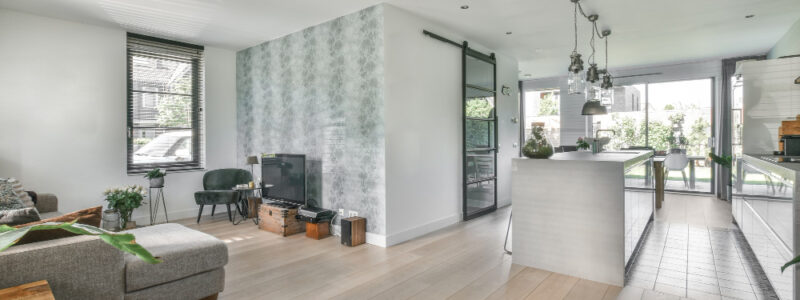
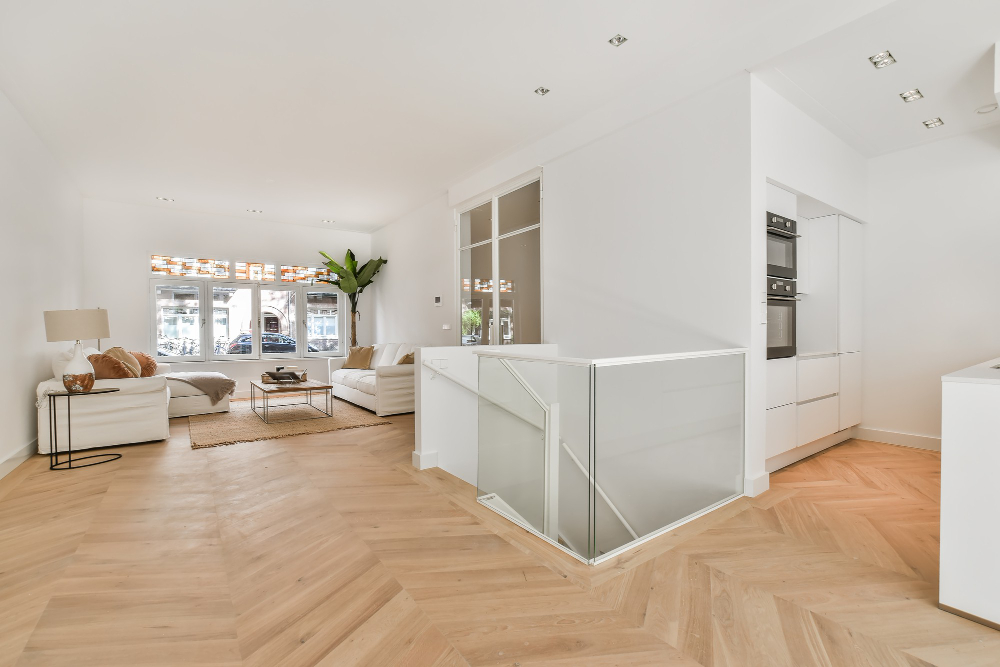
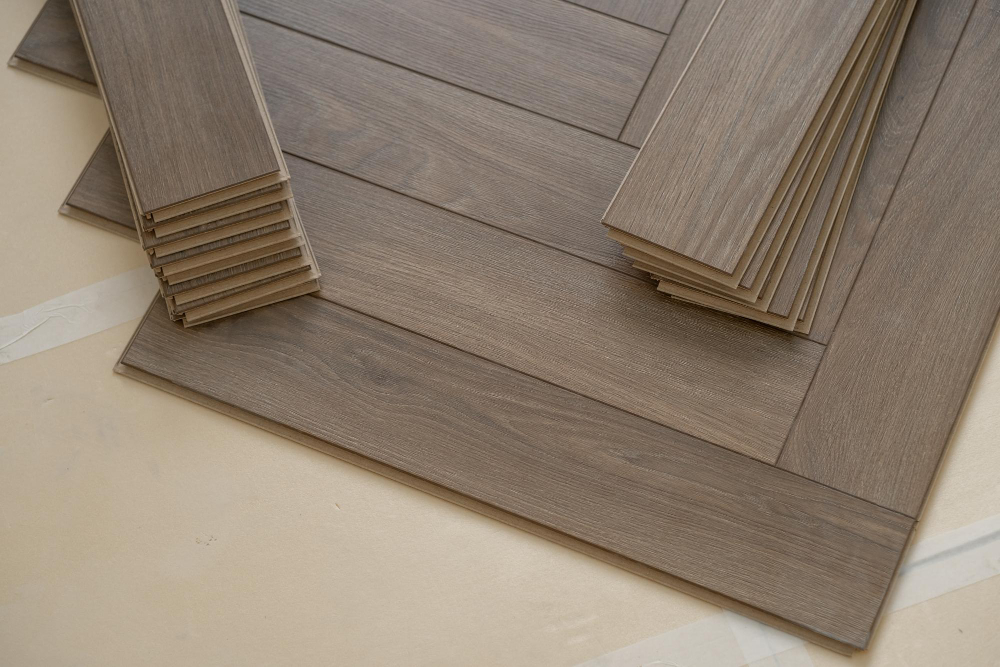
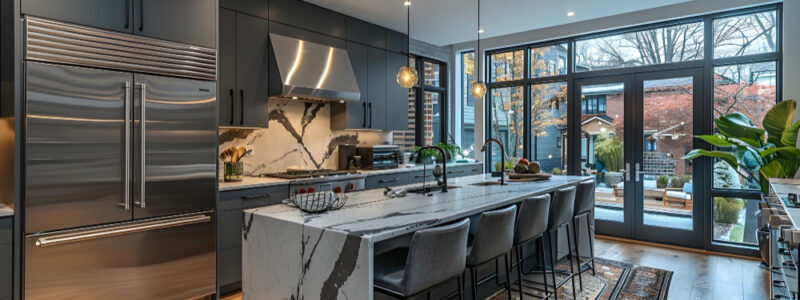
Modern Tile Flooring Design Trends
Large-Format Tile Installations
Large-format tile flooring continues to dominate modern remodeling because it creates cleaner visual lines and more spacious interior aesthetics.
Large-format flooring benefits include:
- Enhanced room openness
- Reduced grout visibility
- Luxury modern aesthetics
- Improved visual continuity
These installations help interiors feel more refined and contemporary.
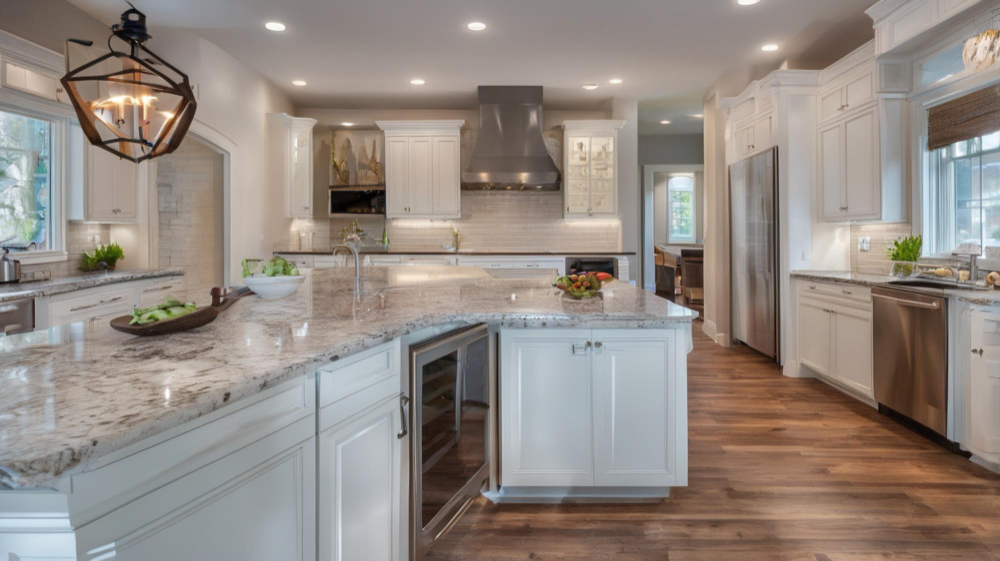
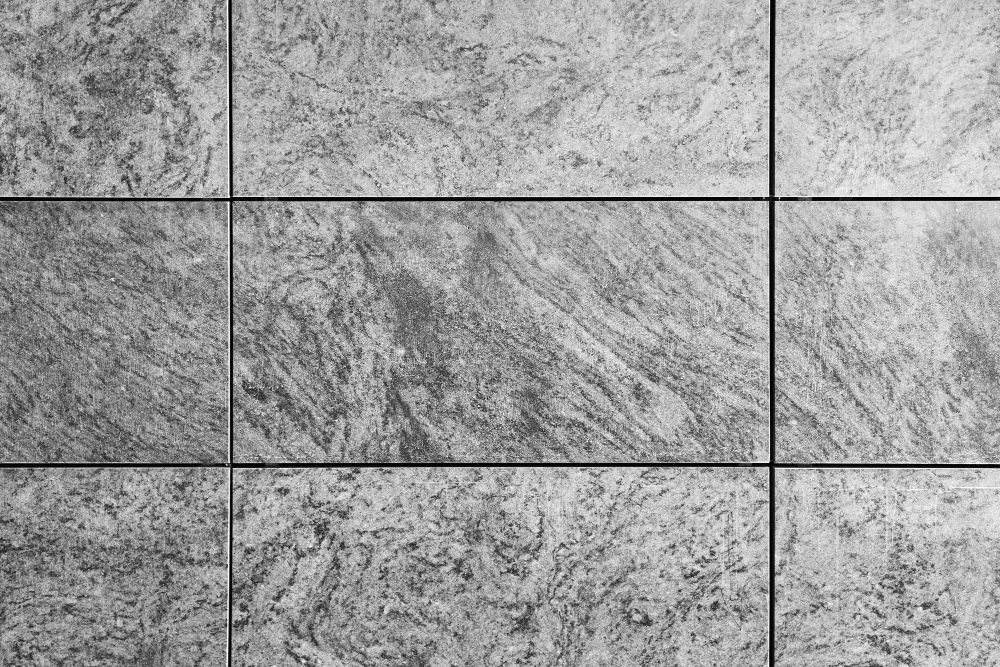
Natural Stone and Wood-Look Tile Designs
Homeowners increasingly prefer tile flooring that replicates the appearance of natural materials while providing superior durability.
Popular tile flooring aesthetics include:
- Marble-inspired finishes
- Natural stone textures
- Wood-look porcelain planks
- Soft neutral color palettes
These surfaces create elegant and highly versatile residential interiors.
Matte and Contemporary Surface Finishes
Matte tile finishes continue to grow in popularity because they create cleaner and more sophisticated visual aesthetics.
Matte surface benefits include:
- Reduced surface glare
- Modern architectural styling
- Improved visual softness
- Contemporary design sophistication
These finishes support both minimalist and luxury interior trends.
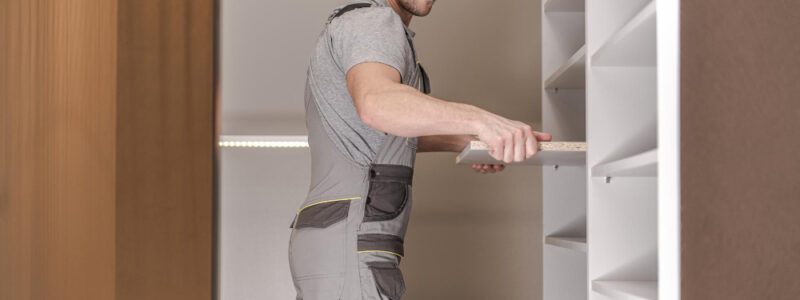
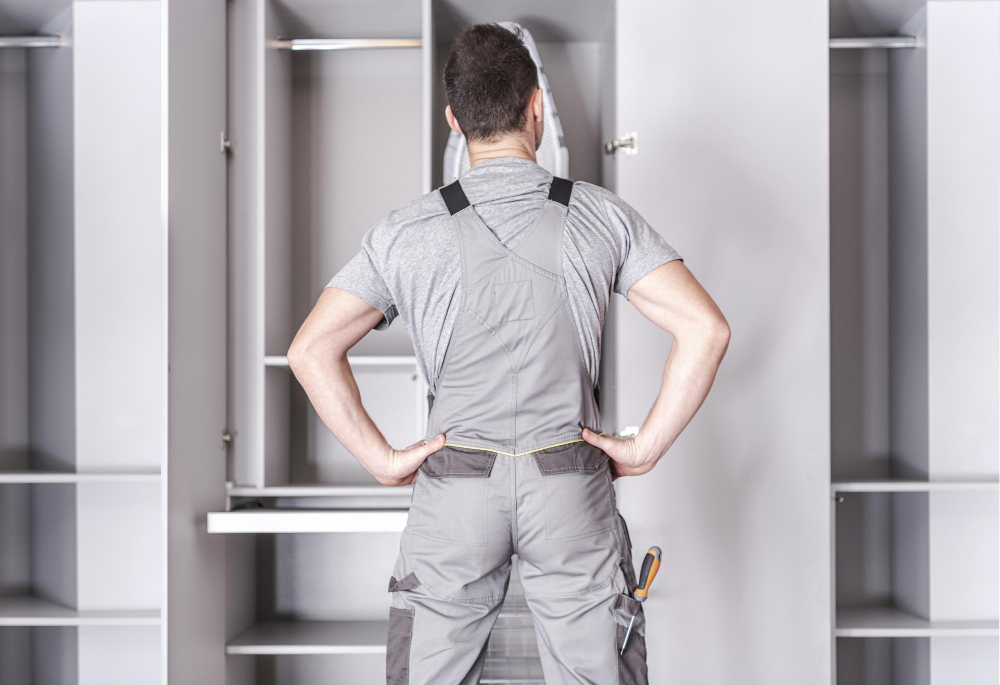
The Importance of Professional Tile Flooring Installation
Tile flooring installation requires proper subfloor preparation, accurate spacing, leveling, grout alignment, and precise layout planning to ensure long-lasting quality.
Professional installers ensure:
- Accurate tile alignment
- Proper subfloor preparation
- Secure tile installation
- Long-term flooring durability
- High-quality finish consistency
Skilled installation helps maximize both functionality and visual quality.
How Porcelain Floor Tiles Increase Property Value
Updated flooring strongly influences buyer perception and overall residential appeal. Many buyers appreciate professionally installed porcelain floor tiles because they improve durability, luxury aesthetics, and long-term residential functionality.
Tile flooring upgrades often improve:
- Interior visual appeal
- Surface durability
- Modern design aesthetics
- Easy-maintenance functionality
- Long-term resale value
These upgrades help homes feel modern, durable, and move-in ready.
Long-Term Benefits of Tile Flooring
Tile flooring systems provide lasting value through improved durability, enhanced moisture resistance, easier maintenance, and highly refined interior aesthetics. Their ability to combine dependable everyday performance with modern design versatility makes them one of the most impactful investments available in residential remodeling.
Whether focused on large-format tile installations, wood-look flooring systems, luxury natural stone aesthetics, or complete whole-home renovations, tile flooring helps homeowners create cleaner, more efficient, and visually sophisticated living environments.
With professional installation, durable materials, and thoughtful design integration, tile flooring continues to shape the future of modern residential interior design and home improvement.